Create recurring jobs
2 minute read
Every route starts in the same place: Cloud Management Platform (CMP), at Admin > Recurring Jobs.
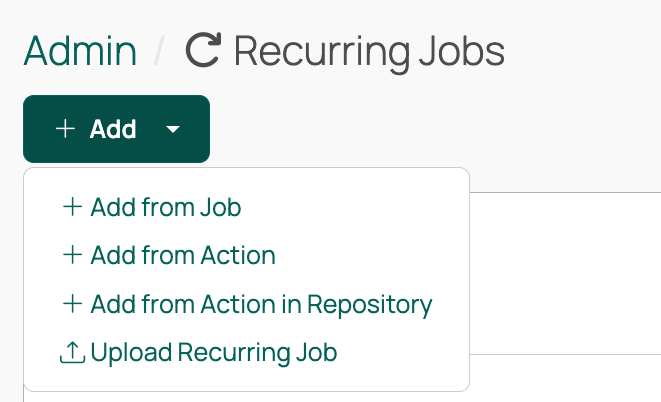
Ways to add a recurring job
- Add from Job. Turn a job type that CMP already runs, such as a resource handler sync, into a scheduled job.
- Add from Action. Schedule an action, either one that already exists on your instance or a new one you define as you go.
- Add from Action in Repository. Create the job from an action held in a connected source code repository. CMP opens the new recurring job when it finishes.
- Upload Recurring Job. Import a recurring job from a Zip file. Selecting replace existing overwrites any matching action already on the instance.
 (opens full-size image in a new tab)
The Import from the Content Library button on the Recurring Jobs page brings in recurring jobs published to the Content Library.
From an existing job
-
Go to Admin > Recurring Jobs.
-
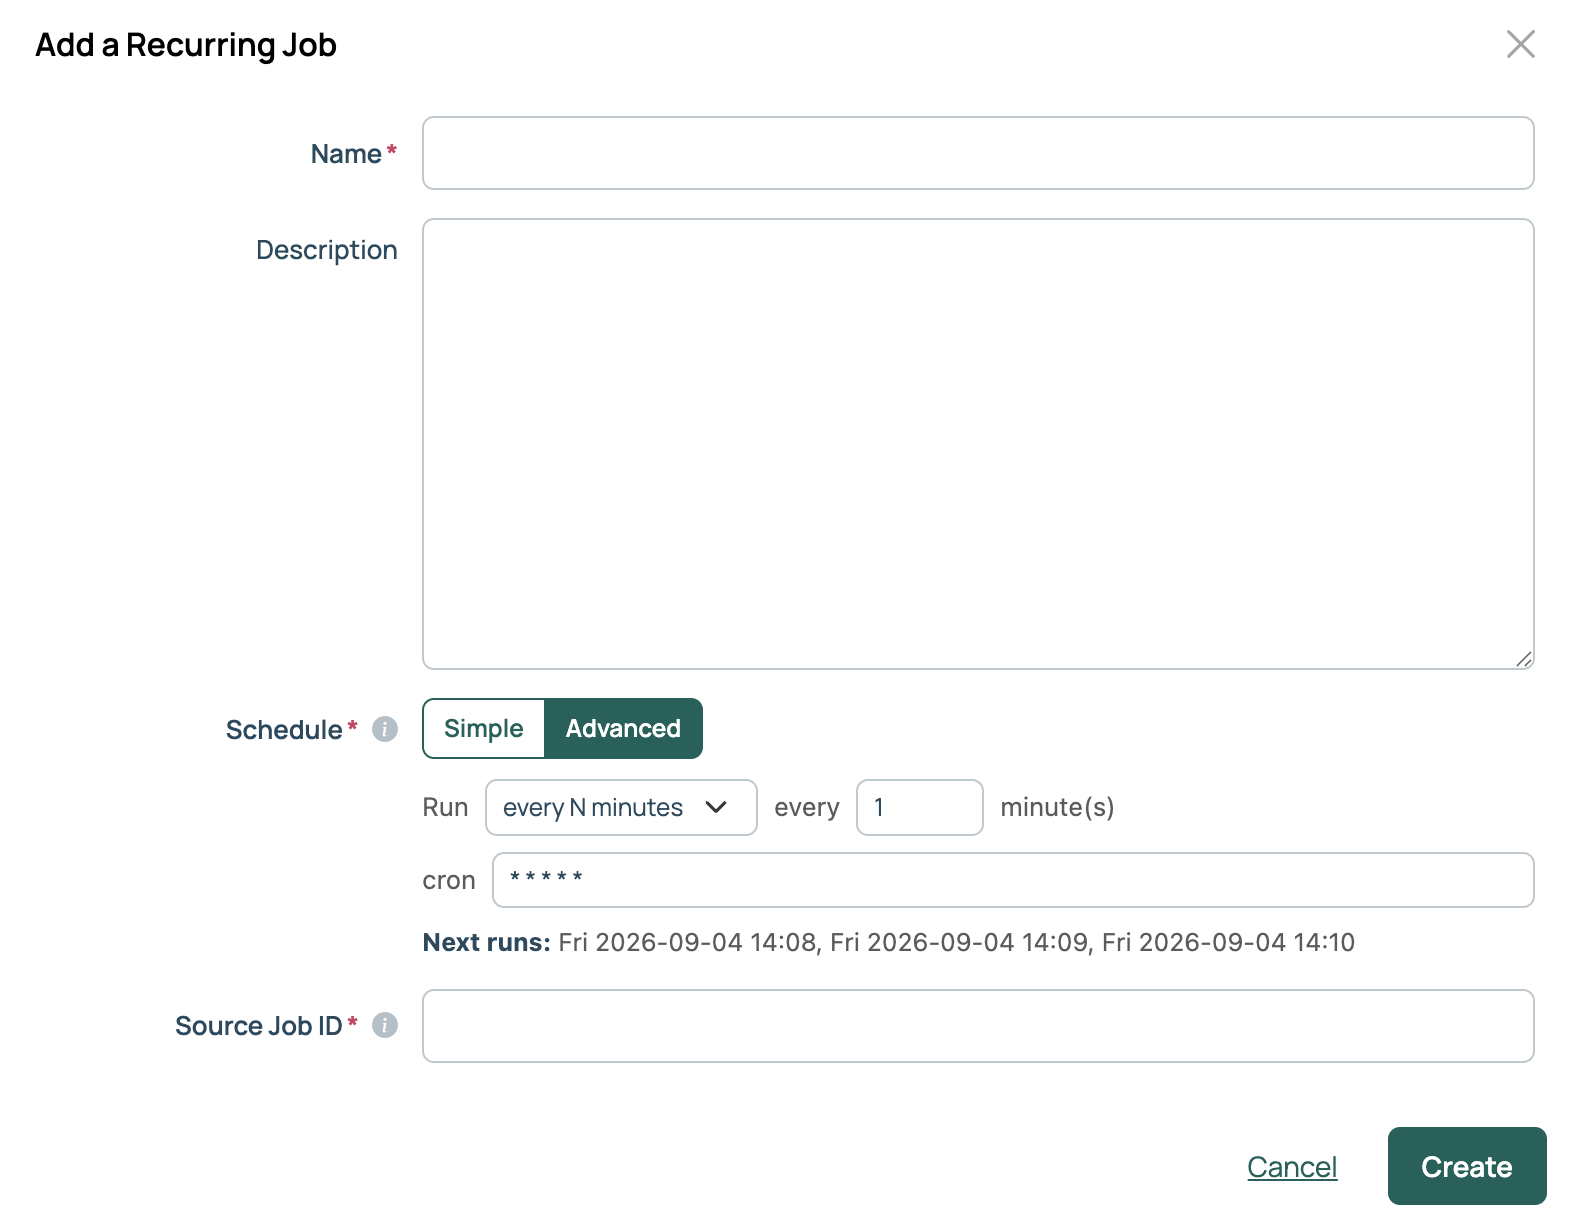
Select Add > Add from Job.
-
Provide a Name, Schedule, and Source Job ID.
-
Select Create.
From an action
-
Go to Admin > Recurring Jobs.
-
Select Add > Add from Action.
-
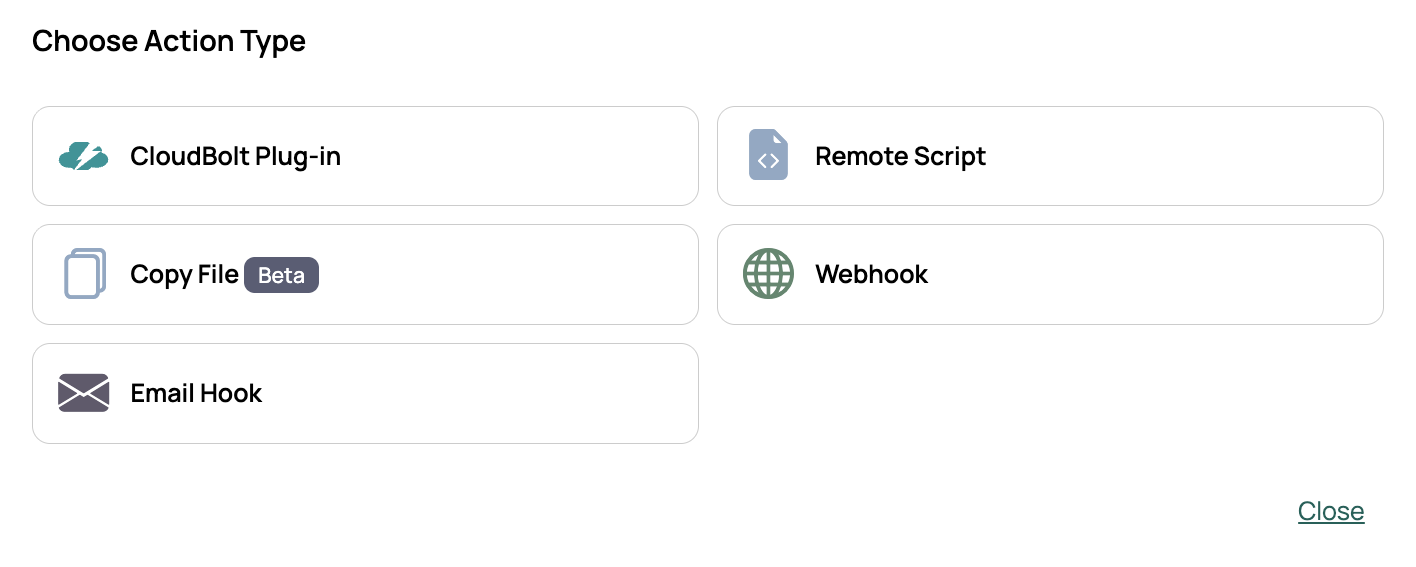
Select an action type.
-
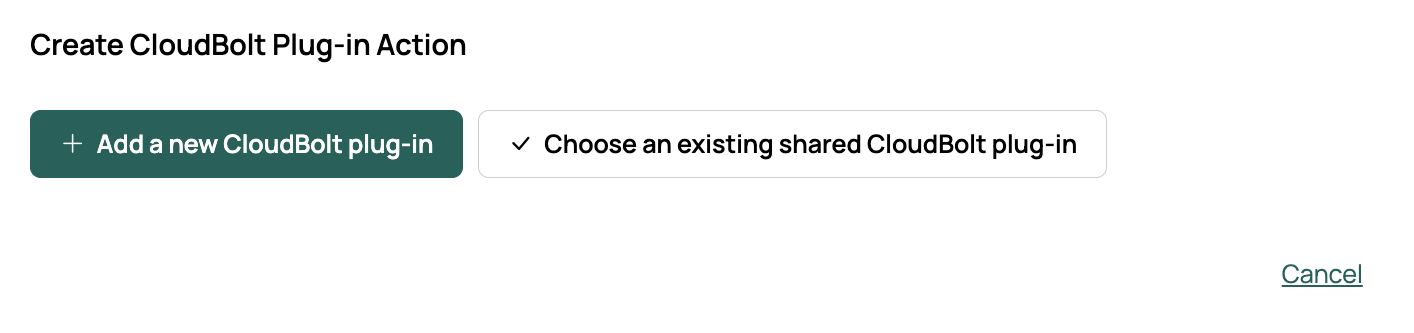
Choose the action to run:
-
To use an existing action, select Choose an existing shared CloudBolt plug-in, or the equivalent button for the selected action type. Select an action from the list, then select Create action for CloudBolt plug-in or equivalent.
-
To define a new action, select Add a new CloudBolt plug-in, or the equivalent button for the selected action type. Complete the form and select Create.
-
-
CMP returns you to the Recurring Jobs page, where the new job appears. Set its schedule as described in Set the schedule.
Set the schedule
A recurring job created from an action has no schedule until you give it one. Until then, its Next Run column shows an Edit to Schedule link.
- Select the Edit icon on the job, or the Edit to Schedule link.
- Set a schedule: pick a frequency under Simple, build one under Advanced, or type a cron expression. See Schedule format.
- If the action has action input templates, enter a default value for each one.
- Select Save changes.
Related
- Manage recurring jobs: edit, enable, and review the jobs on your instance.
- Recurring jobs with secrets: protect secret values when you export a job.