Scheduling actions
Let users run a server action or resource action at a chosen date and time instead of immediately
Scheduling is off by default. Enable it on the action, and users then get a choice of running now or later each time they launch it.
Enable scheduling
-
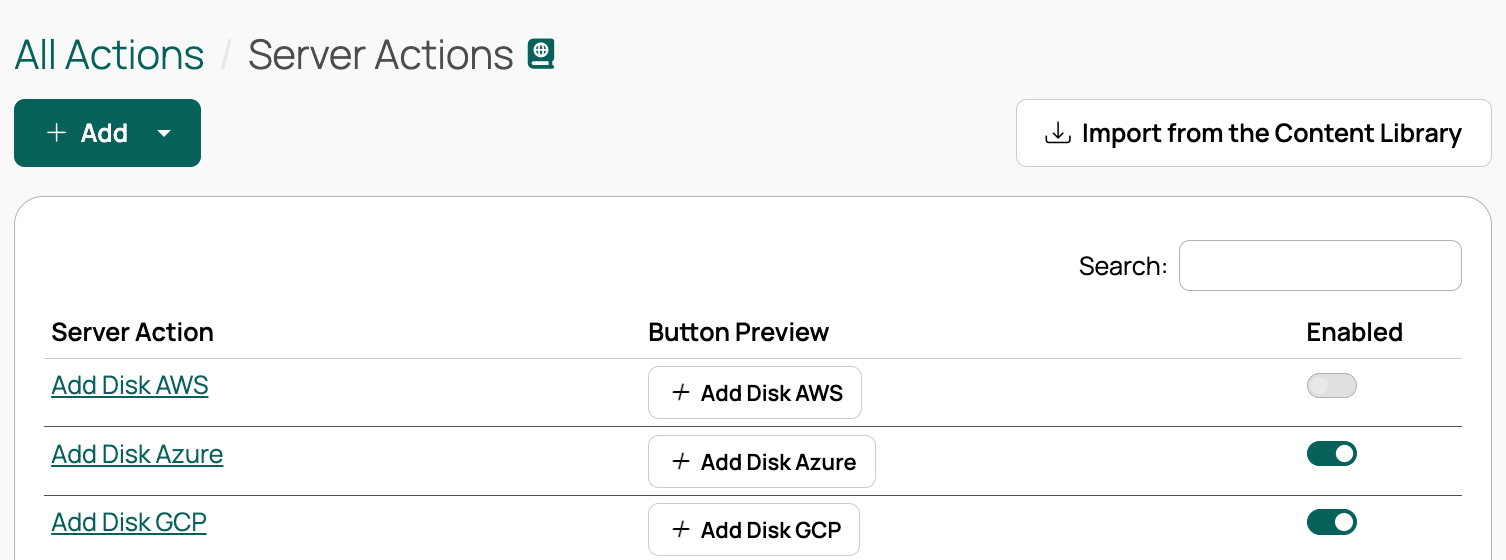
Go to Admin > Server Actions or Admin > Resource Actions.
-
Select an action.
-
Select the Edit button.
-
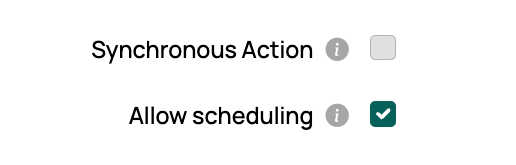
Clear Synchronous Action if selected, and select Allow scheduling. Synchronous actions run inline and cannot be deferred.
-
Select Save.
Schedule an action
- For a server action, go to Resources > Servers and select a server. For a resource action, go to Resources, then select a resource type and a resource.
- Select the action that has scheduling enabled.
- Under When to run, select At a later scheduled time.
- Enter a Scheduled Time. The field uses a 24-hour clock.
- Select Run.