Complete initial setup
4 minute read
In this guide, you’ll:
- Create your initial administrator account.
- Choose your license. CMP includes a free tier, so you can start right away.
- Use the Setup Wizard to connect a cloud and add content to your catalog.
Prerequisites
- CMP is installed and reachable in a browser. If you haven’t installed yet, see Install Cloud Management Platform.
- You have the URL (or IP address) of your CMP appliance.
- If you have a purchased license, have your license key text or
.binlicense file ready. If you don’t have one, you can start on the free tier and add a paid license later. See Product license.
Create your administrator account and log in
The first time you open CMP in a browser, it takes you to the configuration page. You won’t see a login page until configuration is complete.
-
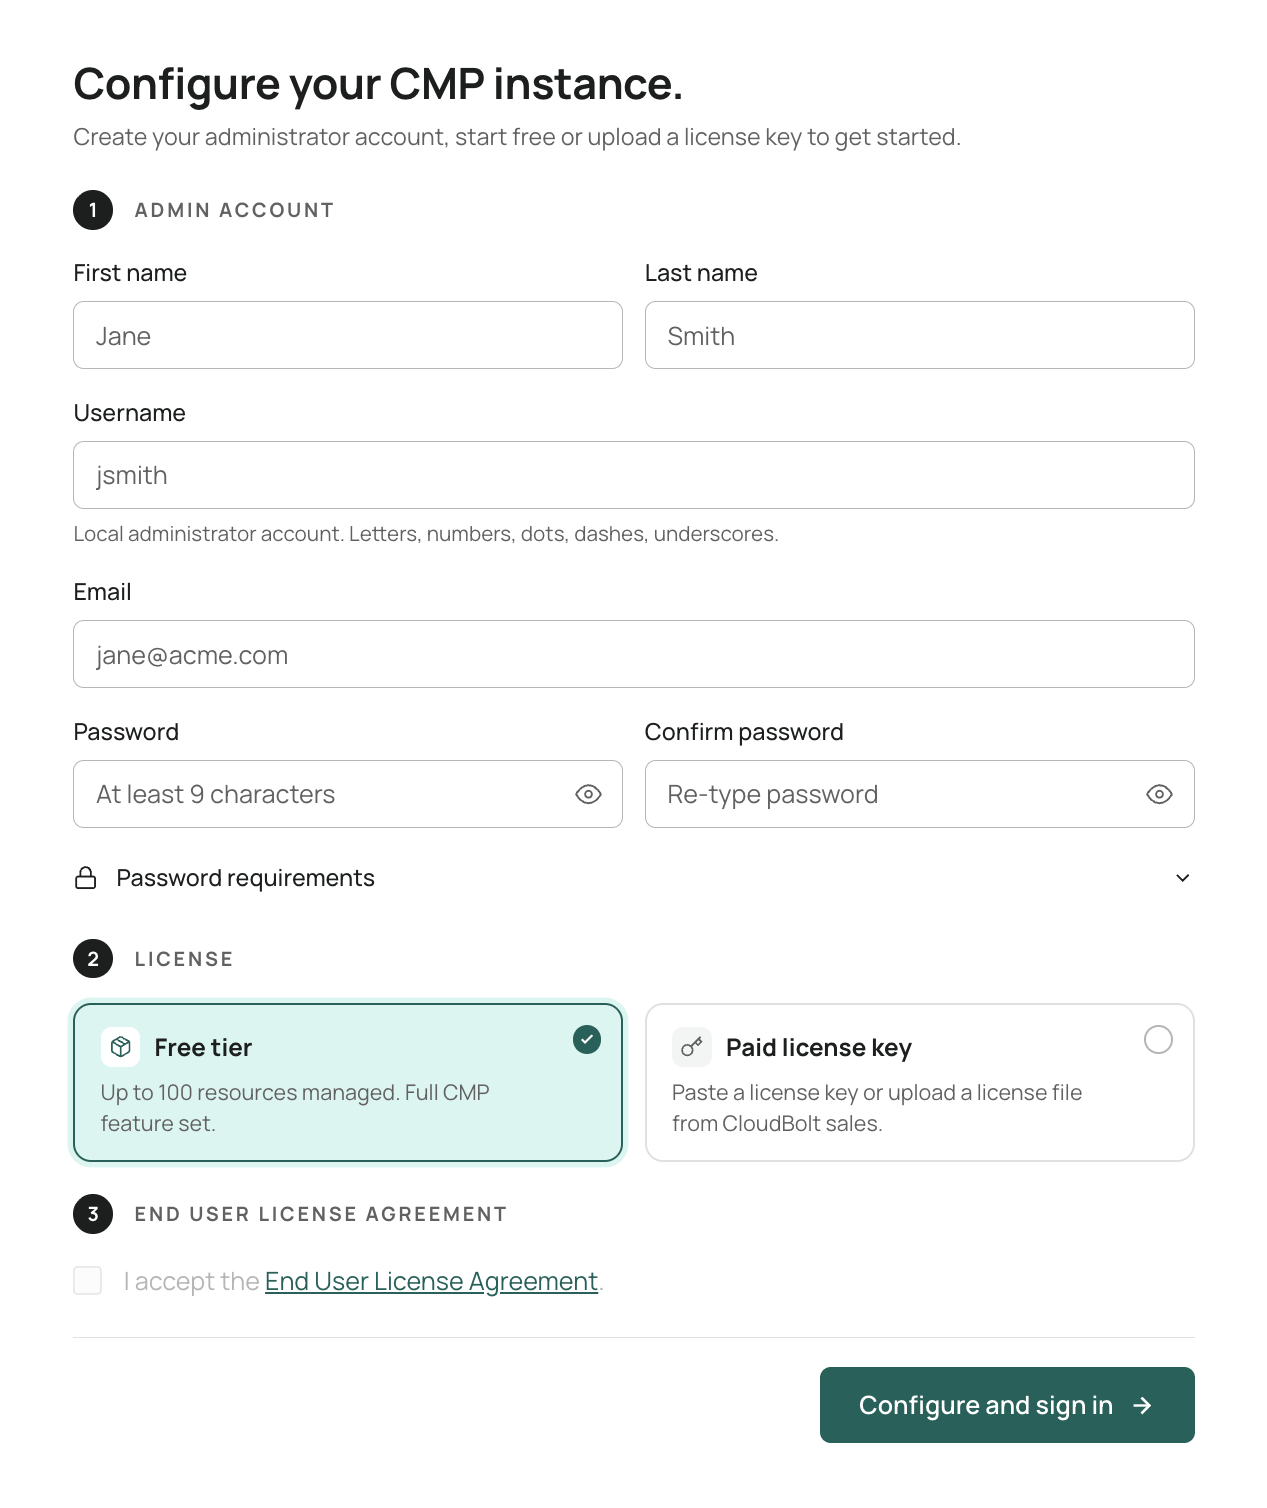
In a browser, go to your CMP appliance URL. CMP opens the configuration page titled Configure your CMP instance.
-
Under Admin account, create the initial administrator. This account is a CMP super admin.
Field Notes First name / Last name Your name Username Letters, numbers, dots, dashes, and underscores only Email Used for password resets and notifications Password / Confirm password Must meet CMP’s password requirements shown on the page -
Under License, choose the license to start with. See Choose your license for details.
-
Read and accept the End User License Agreement.
- Select the End User License Agreement link to open the agreement.
- Read to the end of the agreement and select Accept. This selects the I accept the End User License Agreement checkbox.
-
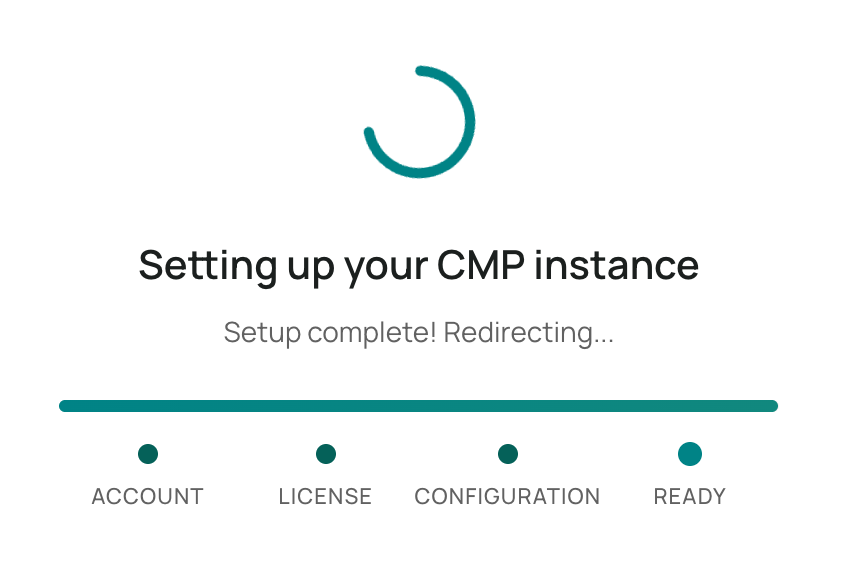
Select Configure and sign in. CMP creates your administrator account, applies your license, and configures the platform. A progress screen appears while the configuration is applied.
-
When the configuration finishes, CMP automatically signs you in as the administrator and opens the Setup Wizard.
If a field is invalid or the EULA isn’t accepted, CMP keeps you on this page and highlights what to fix. Correct the highlighted items and submit again.
Choose your license
During initial configuration, select one of the following under License:
- Free tier (default). Start immediately on the free tier to explore all features and manage up to 100 resources (any cloud object CMP manages, such as VMs, storage, clusters, databases, and networks). The included license is valid for up to one year; renew or upgrade before it expires to avoid an interruption.
- Paid license key. Use a license you purchased. Either paste the license key text or upload your
.binlicense file.
You can change your license at any time (for example, to increase the server cap). See Product license.
If your license lapses: CMP locks the appliance and directs administrators to the Product License page so you can apply a current license. Your configuration and data are preserved; you just need a valid license to continue.
Complete the setup wizard
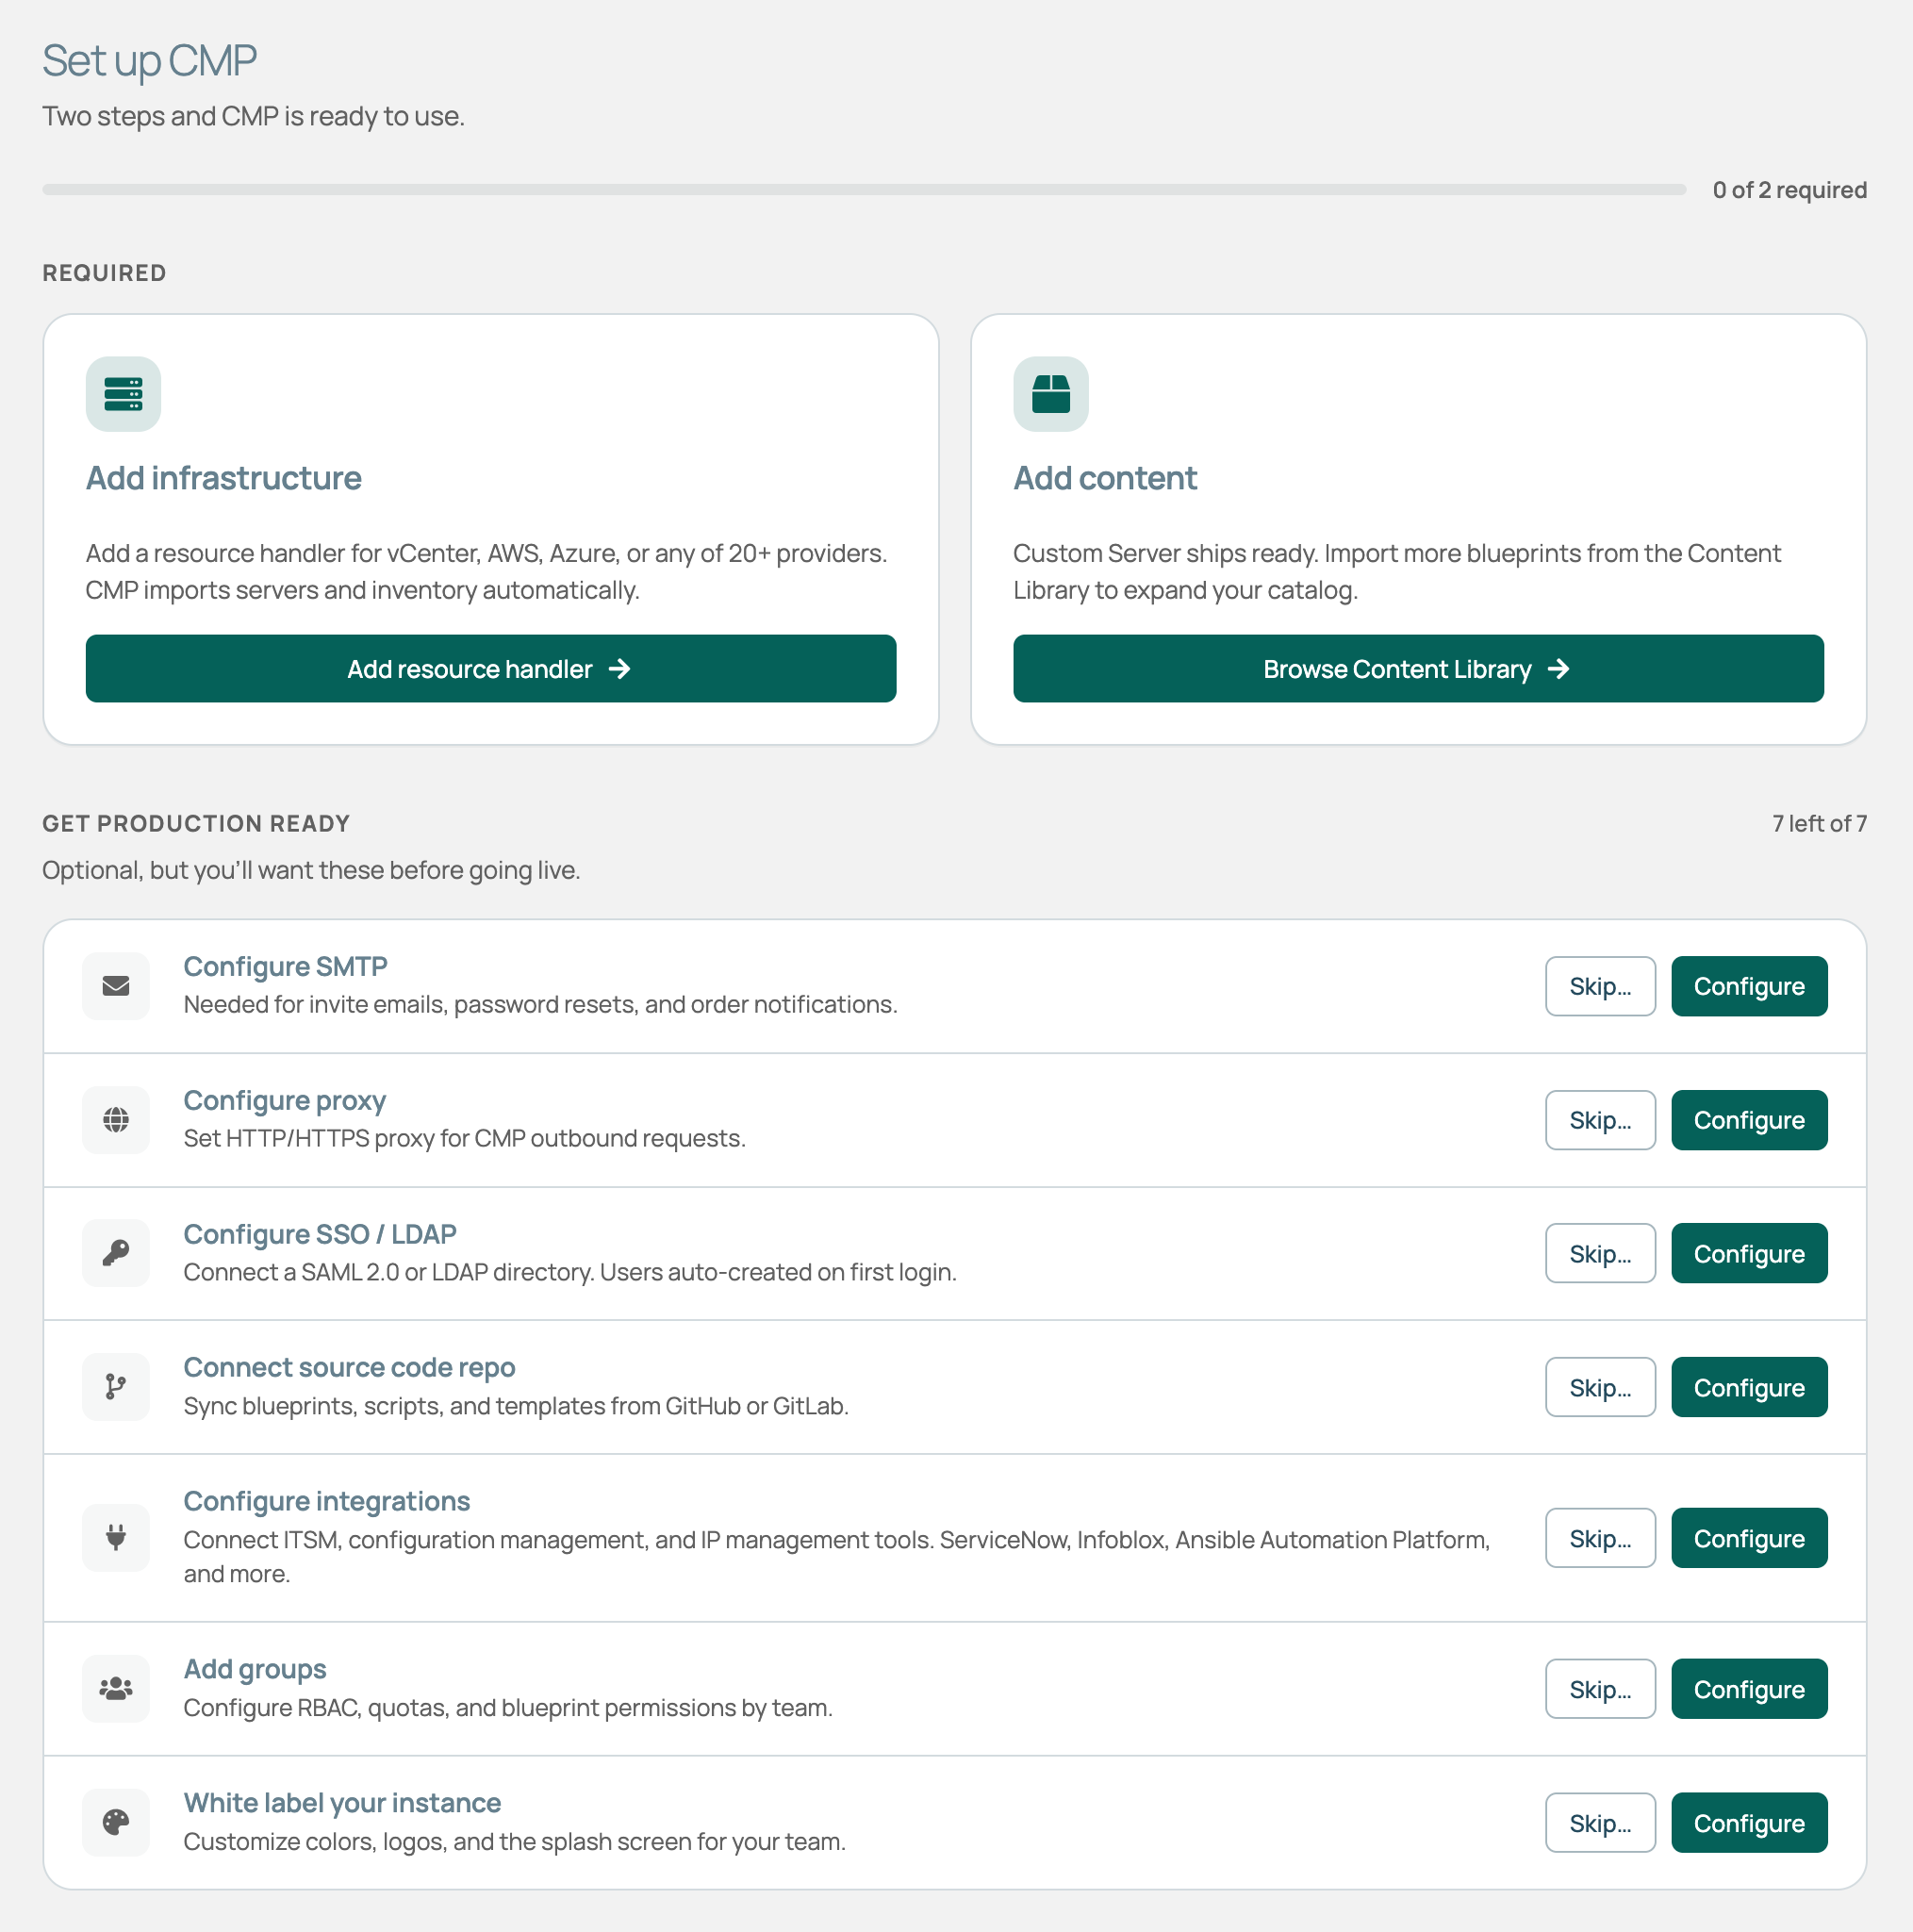
After login, the Setup Wizard helps you get CMP ready to provision with required and optional tasks.
 (opens full-size image in a new tab)
Required tasks
- Add infrastructure. Add a connection to your virtualization platform or public cloud (for example, VMware vCenter, AWS, or Azure). Select Add resource handler, choose your provider, and complete the connection. See Resource handlers.
- Add content. A built-in Custom Server blueprint is ready to order. To expand your catalog, select Add content and import more blueprints. See Blueprints.
Optional tasks
The wizard also offers optional tasks: email (SMTP), a proxy, single sign-on (SSO), a source code repository, integrations, groups, and white-labeling. Set these up now or later from the admin settings.
Finish setup
Setup is complete when both required tasks are done. To finish without them, select Mark setup as complete. You can revisit the wizard at any time from Admin > Setup Wizard.
To return to the wizard before you finish, select Continue setup in the top navigation bar.
Next steps
Once you’ve added infrastructure and content, you’re ready to provision:
- Order a resource from the catalog. See Blueprints.
- Get to know your landing page. See Dashboard.
- Add more users and set up groups, roles, and permissions.
- Explore more of what CMP can do. See Explore features.