Set up multi-tenancy
5 minute read
Prerequisites
- A Super Admin account, plus two users you can log in as who are not Super Admins (for testing).
Set up tenants
-
Log in to CMP as a Super Admin.
-
Create a CNAME alias for each tenant, pointing to the CMP server and named for the tenant. (External to CMP.)
-
Create a group role with the blueprint permissions your tenant admins need, plus
order.viewandjob.view_logsso tenant-specific admin roles can view orders and jobs within their tenant to troubleshoot and monitor. -
Create a branded portal for each tenant.
-
Create a user to administer each tenant.
-
Create a top-level group for each tenant. The group can have the same name as the tenant.
-
Add each tenant’s admin user to its group, with the appropriate roles. If you are not sure which roles to assign, add the user to all roles on the group.
-
Go to Admin > Roles and create at least one admin role with the admin permissions you want to assign to your tenant users. See Admin roles.
-
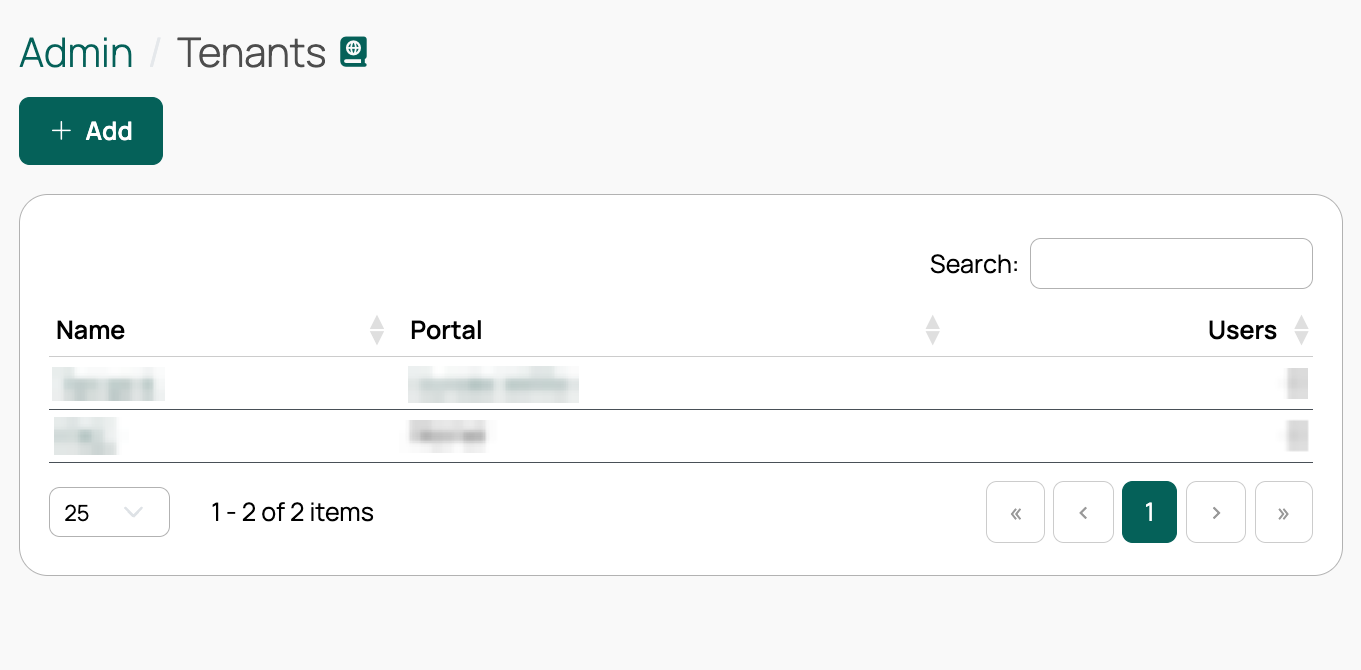
Select Admin > Multi-tenancy, add a tenant, and add the users to the tenant with the appropriate admin roles. Use the branded portal.
-
Add the tenant admin to the tenant’s admin role.
-
Add a resource handler named for the tenant. This is needed if you want the top-level folder in vCenter to match the tenant name or group; otherwise, you can use a global resource handler for all tenants.
-
Configure the network for the tenant. This is only needed if you want a separate IPAM or IP pool for the tenant’s machines; otherwise, use the global networks configured on the main CMP instance.
-
Finish setting up an environment for each tenant.
-
Create a blueprint for each environment. You can also use a global blueprint with different environments. Configure the build step environments as well.
Test the setup
To test changes to multi-tenancy without logging in and out of CMP, use three separate browser windows, or a browser extension that supports multiple sessions (such as Multi Session Box for Chrome or Multi-Account Containers for Firefox).
- Log in to three different browser sessions:
- One as a Super Admin.
- One as the admin-role user from the first tenant.
- One as the admin-role user from the second tenant.
- As the tenant-specific admin role for the first tenant, go to Admin > Resource Handlers.
- Create a new resource handler. It is automatically assigned to the first tenant because it was created by a user who belongs to that tenant.
- As the tenant-specific admin role for the second tenant, go to Admin > Resource Handlers and confirm the resource handler created above is not visible.
You can repeat these steps for other kinds of objects, such as container orchestrators and blueprints.
Blueprints are governed by group permissions rather than tenant membership. Because you have separate top-level groups for the tenants, blueprints are not seen across tenants, except for blueprints that a Super Admin makes available to all groups or to multiple groups across different tenants.
Security recommendations
- Make sure no tenant-accessible role can make blueprints available to all groups, which would expose them across tenants.
- Ensure roles such as Resource Admin do not have the
blueprint.any_group_can_deploypermission. Go to Admin > Roles, edit the role, and remove that permission if present. On new installations, this permission is not in any role by default, but it can be present on instances upgraded from older releases. See Blueprint ordering permissions for more information.
- Ensure roles such as Resource Admin do not have the
- Disable the Cost Dashboard report to prevent information leakage across tenants.
- Go to Admin > Miscellaneous Settings and open the UI tab. Select to edit the Settings. Under Disabled Reports, select Cost Dashboard from the dropdown, and Save.
- To prevent servers from being created with the same default password across multiple tenants, remove the default password for new Windows VMs.
- Go to Admin > Parameters, open New Password, and remove the global default. You must then set it at another level (group or environment) for Windows VM provisioning to work in VMware resource handlers.
Optional setup steps
Set up branded portals
If you want each tenant to have a differently branded or white-labeled experience, create a branded portal for each tenant.
- Go to Admin > Branded Portals.
- Create a portal for each of your tenants.
- Go to the tenant’s detail page.
- Select Edit and select the portal you created for it.
When a tenant user logs in to the designated portal, that portal’s branding is used for the UI. If the user has no associated tenant, or the tenant has no associated portal, CMP selects a portal using its normal logic based on the host part of the URL and falls back to the default portal if no match is found.
Automatically associate users with a tenant
Users within a tenant who do not need administrative privileges do not strictly need a tenant set on them; their group membership prevents them from seeing anything that belongs to groups they are not members of. However, you may want users to belong to a tenant for at least two reasons:
- The user manages blueprints and needs to use tenant-specific OS builds in them.
- You want the tenant-specific portal to appear after the user logs in, but you do not have separate hostnames set up for each tenant that point to the CMP server.
Add users to a tenant
You can add users to tenants from the tenant’s details page. To automatically assign all users to a tenant, update the External Users Sync or SSO User Update plugin:
- Go to Admin > Orchestration Actions.
- Find the SSO User Update or External Users Sync plugin and modify it to suit your needs.