SSL root certificates
3 minute read
 (opens full-size image in a new tab)
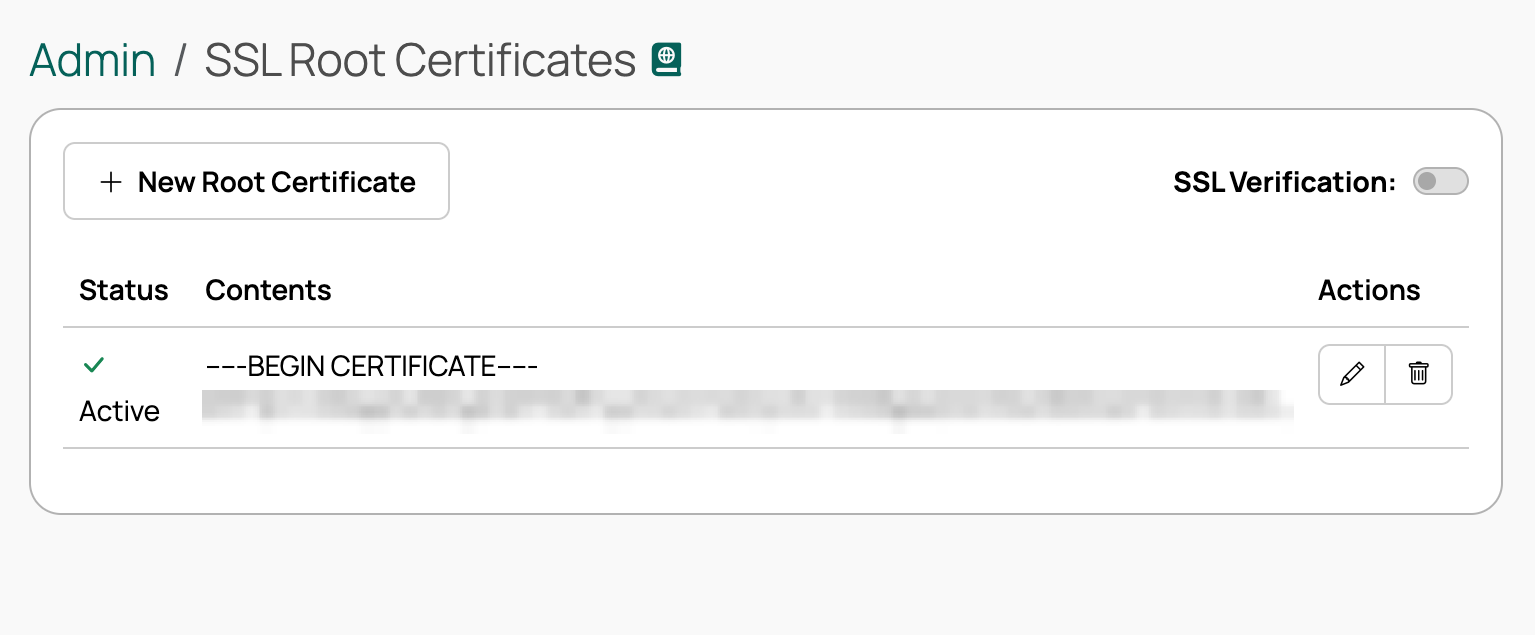
For Cloud Management Platform (CMP) to verify TLS/SSL connections whose certificate is issued by a private certificate authority, add that private CA to CMP’s built-in list of trusted SSL root certificates.
CMP ships with the certifi (Mozilla-curated) bundle of trusted certificate authorities, so connections to public cloud services should not require adding SSL root certificates.
If you use an SSL intercepting proxy server to access public cloud services, update your SSL root certificates with your proxy CA. Follow the steps to find the root certificate of your proxy server CA, using a browser configured to use the same proxy as the CMP appliance.
Enable SSL verification
You can toggle SSL verification globally on this page, and also on the connection information for some resource handlers.
Add all necessary private CA certificates to the SSL root certificates before you enable SSL verification.
If you are developing a plugin and want to enable SSL verification, see the development tip for making requests using the CloudBolt CA bundle.
Add CA certificates
CloudBolt recommends adding the CA root certificates to the SSL root certificates, not the leaf certificates. This serves two purposes:
- When certificates are renewed, CMP functionality is not impacted.
- It limits the number of certificates to maintain if internal services are issued from the same private/internal CA.
Add the root certificates
- In CMP, go to Admin > SSL Root Certificates and select Add.
- Open the certificate (Base-64-encoded X.509 or PEM) in a text editor, or follow the Find the root certificates steps.
- Copy the contents of the certificate file, including
-----BEGIN CERTIFICATE-----and-----END CERTIFICATE-----. - Paste the certificate contents in the box.
- Select Create.
The root certificate is now trusted by CMP.
Find the root certificates
If you do not have the CA certificate, follow these instructions when you have the HTTPS URL that is failing to verify.
The steps depend on your operating system. Choose PC or Mac according to your workstation type.
PC
-
In a browser, go to the HTTPS URL you need CMP to verify, for example,
https://vcenter.example.com. -
Select the padlock icon to the left of the URL.
-
Select Certificate to open the certificate details.
-
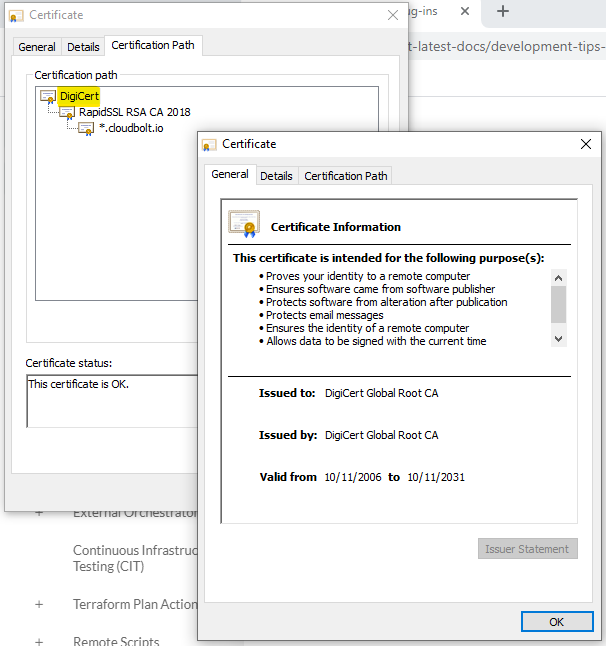
Select the Certification Path tab.
-
Double-click the certificate at the top of the certificate hierarchy (the root):
-
On the root certificate, select the Details tab.
-
Select Copy to File…
-
Select the Base-64-encoded X.509 (.CER) format and export it to a folder or to the desktop.
-
Go to the exported certificate, right-click it, and open it in a text editor.
Mac
-
In a browser, go to the HTTPS URL you need CMP to verify, for example,
https://vcenter.example.com. -
Select the padlock icon to the left of the URL.
-
Select Certificate.
-
Go to the root (top) level certificate.
-
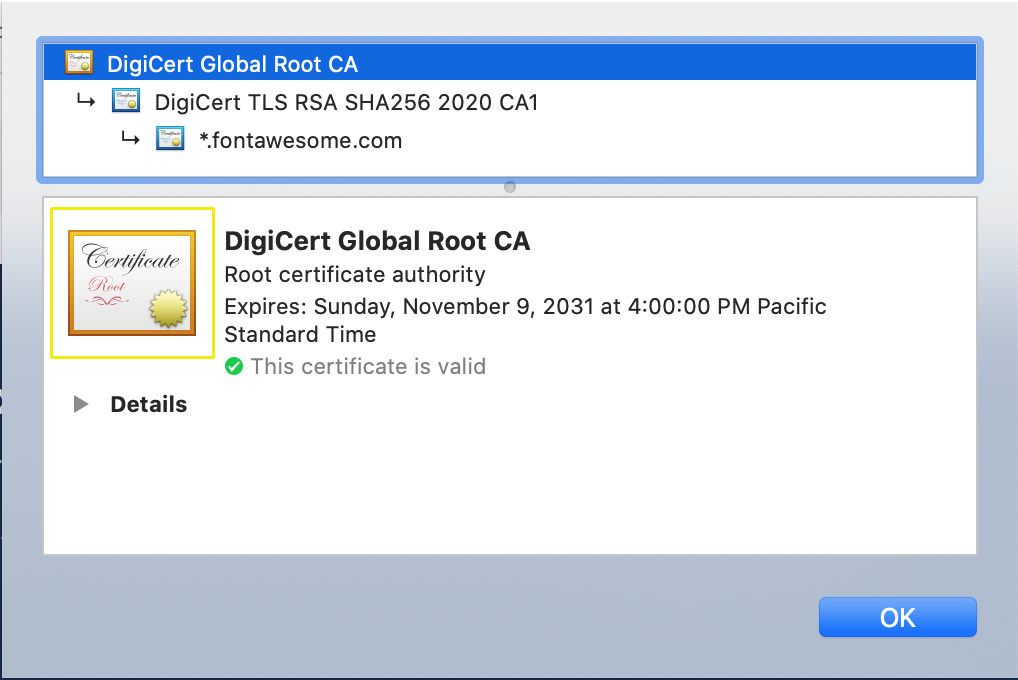
Select the large certificate icon and drag it to the folder of your choice or the desktop for easy access.
-
Find the file and right-click > Open With > Keychain Access.
-
Add the certificate to the keychain.
-
Find the certificate in the list (filter by the Certificates category to narrow it down).
-
Right-click the certificate and select Export “The Certificate Name”…
-
In the File Format dropdown, select Privacy Enhanced Mail (.pem).
-
Go to the exported certificate, right-click the .pem file, and open it in a text editor.