Embed in ServiceNow
9 minute read
Considerations
- CMP must have an SSL certificate that your users’ browsers trust, as browsers do not let users accept a certificate warning inside a frame. Check for a locked padlock icon to the left of the CMP URL.
- You need a ServiceNow account with an administrator role.
- Users’ browsers must allow third-party cookies from CMP. Some browsers block them by default. See Users are asked to log in again.
- If CMP uses SSO, CloudBolt recommends turning on Automatically Login to SSO in Miscellaneous Settings so users do not see the CMP login page. Some identity providers do not allow their login page to load in a frame. See The frame is blank.
Setup overview
- Set up allowed embed URLs in CMP.
- Choose the CMP URL to embed.
- Set up the iframe in ServiceNow using one of these methods:
- UI page (recommended): Opens the full CMP interface from the ServiceNow navigator.
- Dashboard: Shows a CMP page as a dashboard widget. Requires Core UI dashboards.
- Homepage (legacy): Shows a CMP page on a homepage. Requires the UI16 interface.
Set up embed URLs in CMP
-
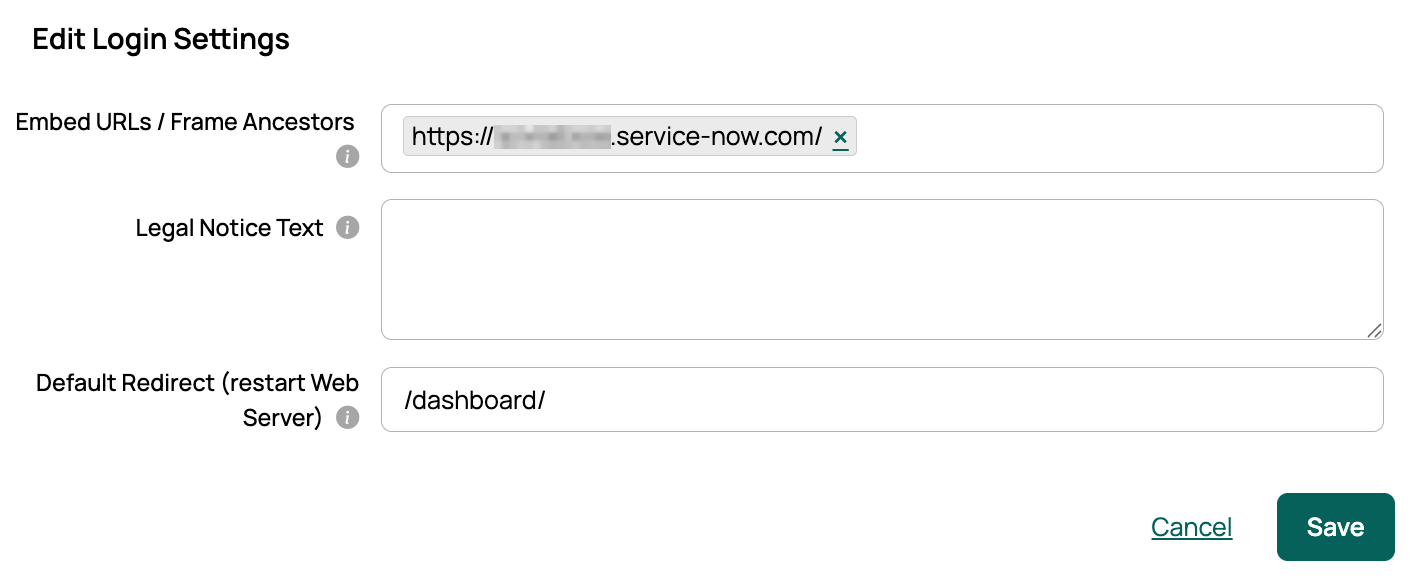
In CMP, go to Admin > Miscellaneous Settings.
-
On the Login tab, next to Settings, select Edit.
-
In Embed URLs / Frame Ancestors, enter the URL of your ServiceNow instance, such as
https://yourcompany.service-now.com. To allow more than one instance, separate the URLs with spaces. -
Select Save.
-
If you run multiple CMP appliances, SSH into each web server and run
/opt/cloudbolt/manage.py generate_webserver_conf.
Choose the CMP URL to embed
Embed either the full CMP interface or a single CMP page:
- Full CMP interface: Use the URL of the page users should start on, such as
https://cmp.yourcompany.com/catalog/. CMP shows its navigation menu. Use this with the UI page method. It is not available to users limited by Embedded mode. - Single CMP page: Add ?frame=true to the page’s URL, such as
https://cmp.yourcompany.com/catalog/?frame=true. CMP hides its navigation menu and shows only that page. Use this with the dashboard and homepage methods.
To get the URL, open the page in CMP, add ?frame=true if you need a single page, and copy the URL from the address bar to use in Set up the iframe in ServiceNow.
Embedded mode
(Optional) Embedded mode limits most users to CMP pages opened with ?frame=true. Users with an allowed global role (Super Admin by default) can still open CMP directly. Other users are logged out when they open a CMP page without ?frame=true, so give them a single-page URL.
To turn it on, go to the Login tab in Miscellaneous Settings and turn on Embedded Mode. Then select Edit next to Settings and choose the Allowed Global Roles in Embedded Mode.
Show the navigation menu again
After a page is opened with ?frame=true, CMP hides the navigation menu for the rest of the session. To show it again, open any CMP page with ?frame=false.
Set up the iframe in ServiceNow
Add CMP to ServiceNow using one of the methods below.
Using a UI page (recommended)
This method has three parts: a UI page with an iframe, an application menu in the ServiceNow navigator, and a module in that menu that opens the UI page.
To move this setup between ServiceNow instances, select an update set (and optional application scope) before you start, so all three records are captured together.
Create the UI page
-
Log in to your ServiceNow instance as an administrator.
-
Go to System UI > UI Pages.
-
Select New.
-
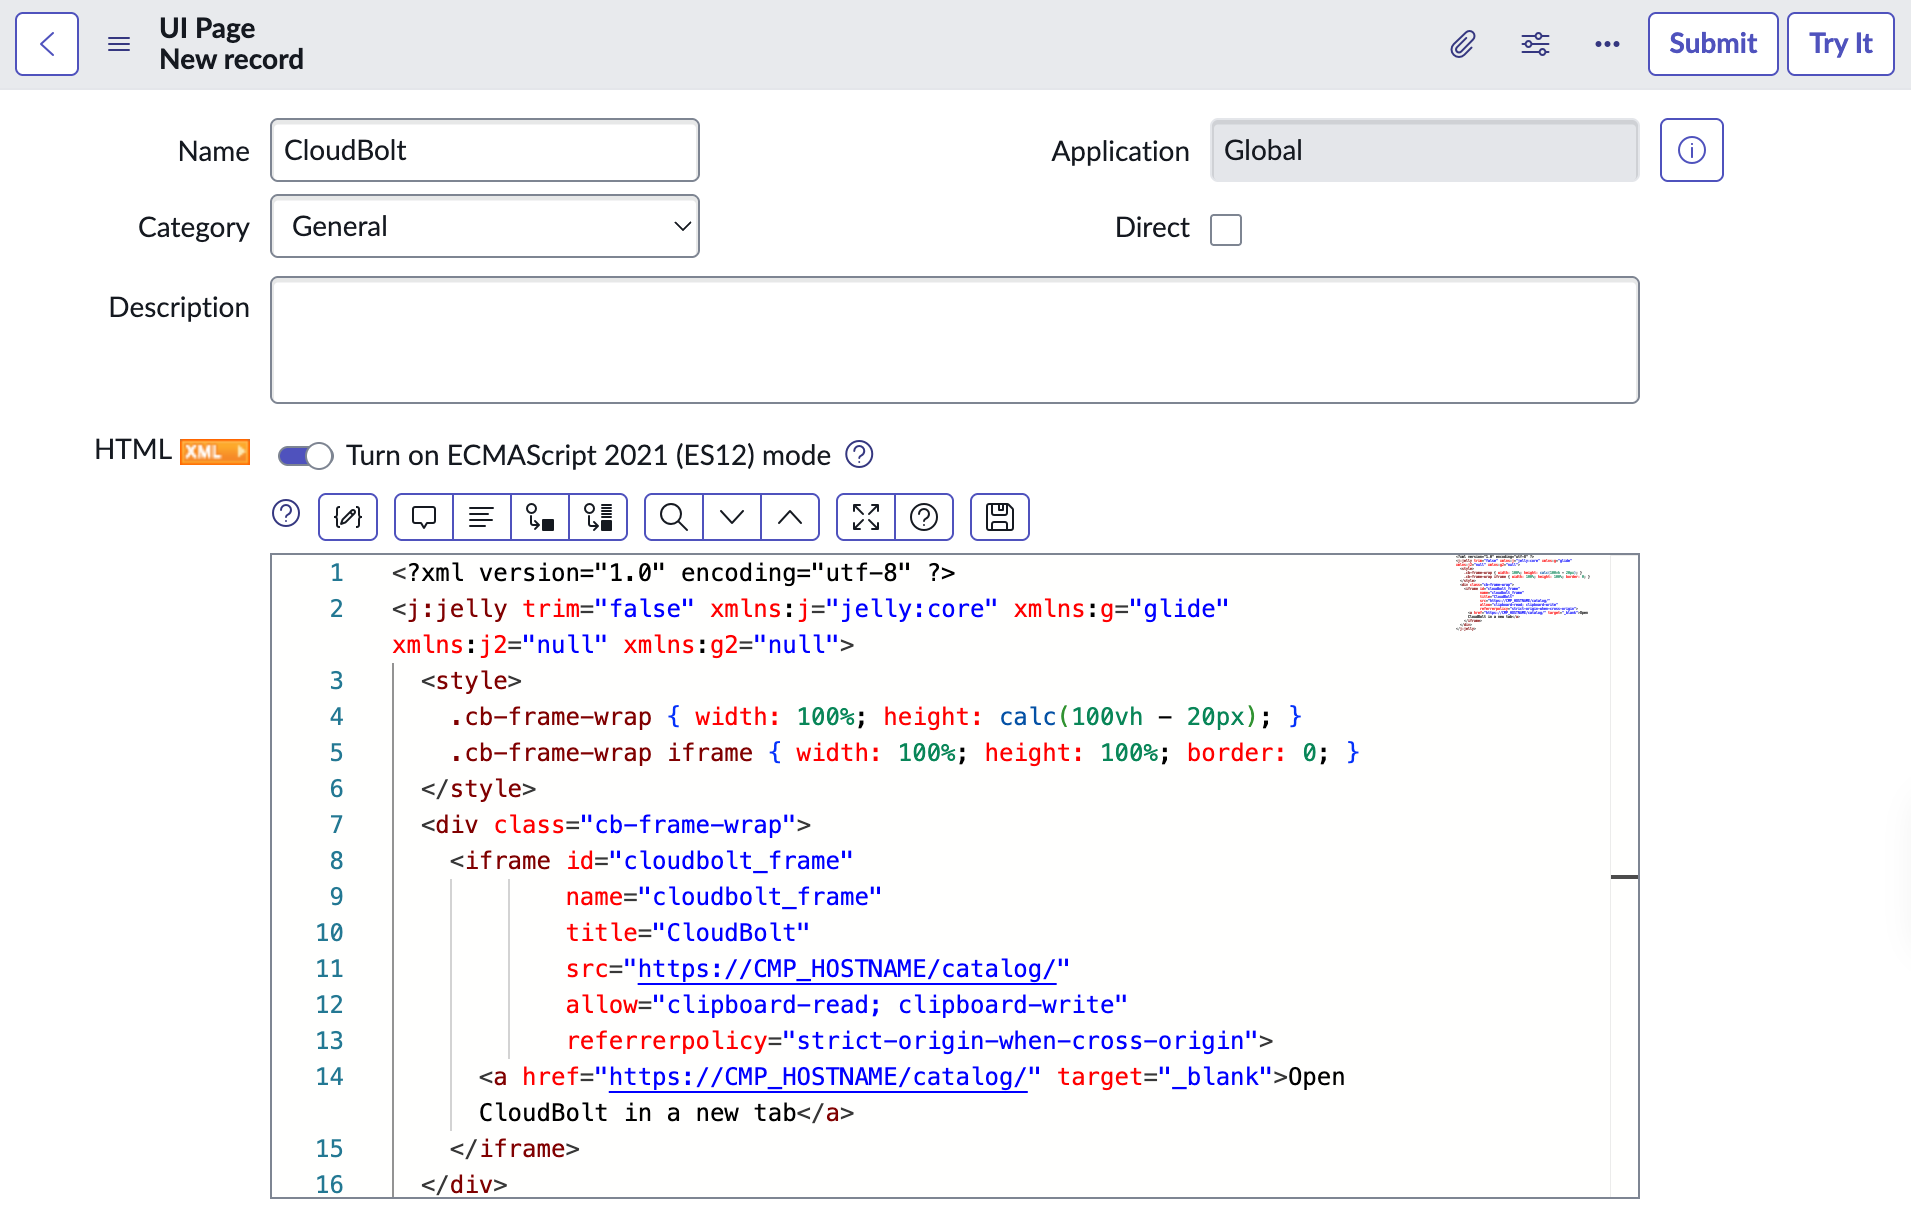
Enter a Name without spaces, such as CloudBolt. The name becomes part of the page URL (CloudBolt.do).
-
Leave Direct cleared.
-
In the HTML field, replace the default content with the following. Replace
CMP_HOSTNAMEin both places with your CMP hostname (not your ServiceNow hostname), such as cmp.yourcompany.com.<?xml version="1.0" encoding="utf-8" ?> <j:jelly trim="false" xmlns:j="jelly:core" xmlns:g="glide" xmlns:j2="null" xmlns:g2="null"> <style> .cb-frame-wrap { width: 100%; height: calc(100vh - 20px); } .cb-frame-wrap iframe { width: 100%; height: 100%; border: 0; } </style> <div class="cb-frame-wrap"> <iframe id="cloudbolt_frame" name="cloudbolt_frame" title="CloudBolt" src="https://CMP_HOSTNAME/catalog/" allow="clipboard-read; clipboard-write" referrerpolicy="strict-origin-when-cross-origin"> <a href="https://CMP_HOSTNAME/catalog/" target="_blank">Open CloudBolt in a new tab</a> </iframe> </div> </j:jelly>To start users on a page other than the Catalog, replace both URLs with the one from Choose the CMP URL to embed.
-
Select Submit.
 (opens full-size image in a new tab)
Keep the link inside the iframe element. ServiceNow needs it to display the iframe correctly, and it gives users a fallback link.
Create the application menu
- Go to System Definition > Application Menus.
- Select New.
- Enter a Title, such as CloudBolt. Users see this name in the All menu.
- (Optional) In Roles, add the roles that can see the menu.
- Make sure Active is selected.
- Select Submit.
Create the module
- Open the application menu you created.
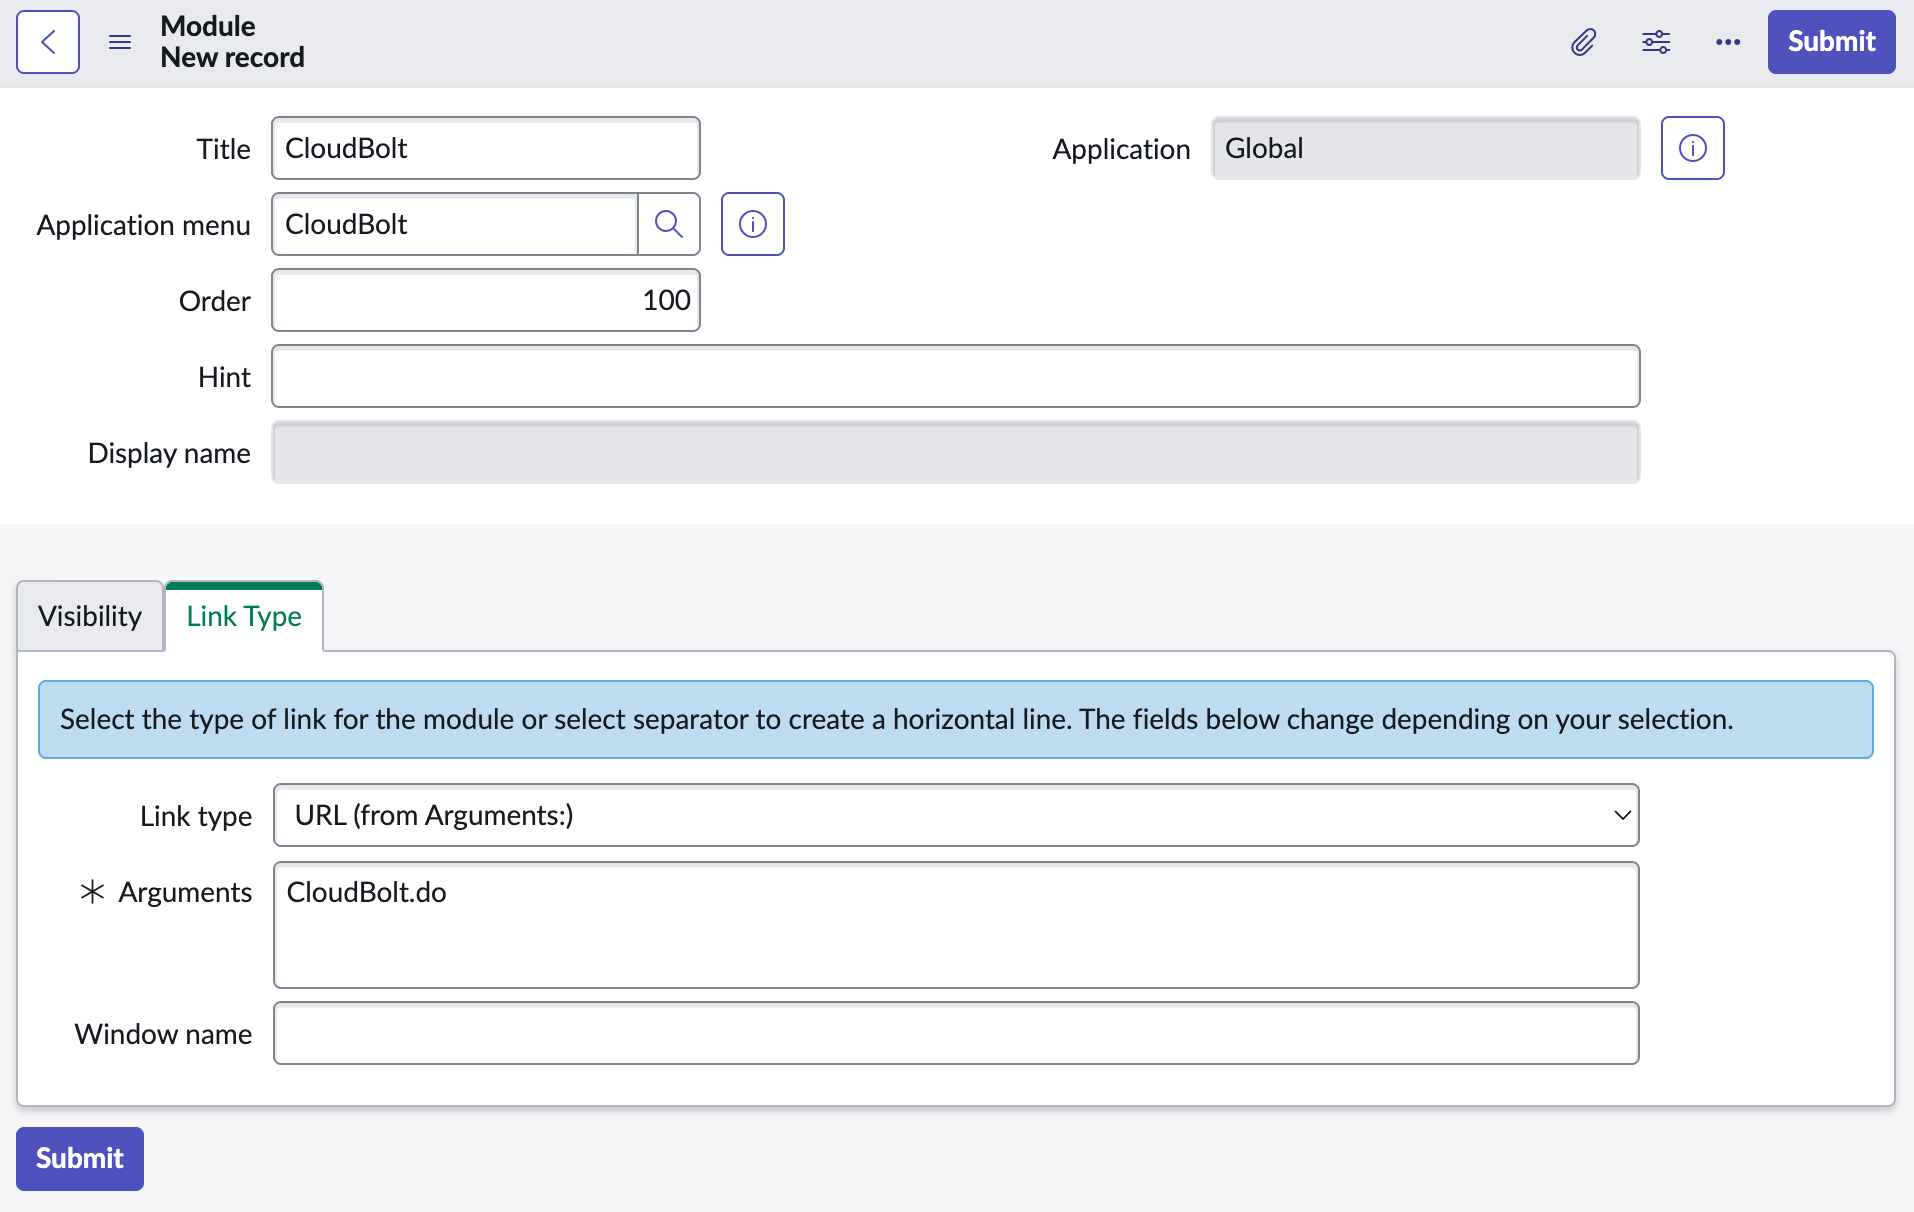
- In the Modules related list, select New. The Application field is filled in.
- Enter a Title, such as CloudBolt or Cloud Catalog.
- Enter an Order, such as 100.
- Set Link type to URL (from Arguments).
- In Arguments, enter the UI page name followed by .do, such as CloudBolt.do. Do not include https:// or the instance hostname.
- Leave Window name blank.
- (Optional) In Roles, add the same roles as the application menu.
- Select Submit.
 (opens full-size image in a new tab)
Open CMP from ServiceNow
-
Reload your browser.
-
Select All, enter the application menu title in the filter, and select the module.
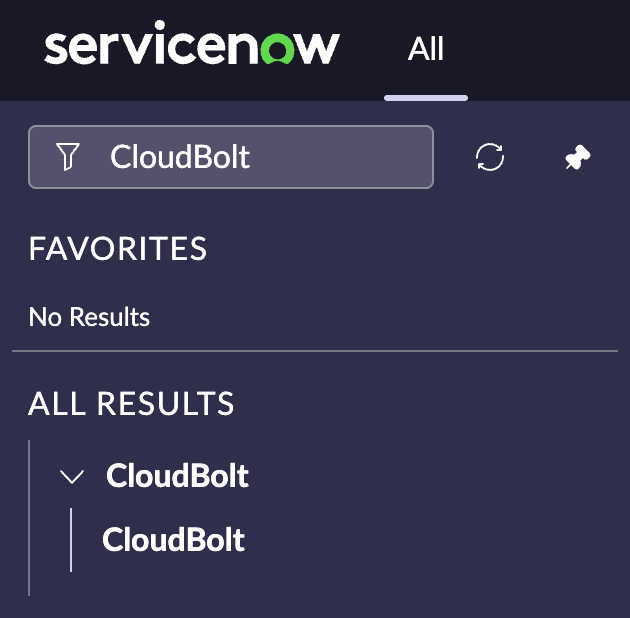
CMP opens below the ServiceNow header. To add more entry points, such as a direct link to Orders, create a UI page for each CMP URL and add a module for each under the same application menu.
(Optional) Redirect direct links to the UI page
If someone opens the UI page URL directly, such as https://yourcompany.service-now.com/CloudBolt.do, ServiceNow shows the page without its header. To reload the page inside the ServiceNow interface instead, add the following to the UI page’s Client script field (not the HTML field). Replace UI_PAGE_NAME with the page Name, such as CloudBolt.
if (window.top === window.self) {
  window.location.replace('/now/nav/ui/classic/params/target/UI_PAGE_NAME.do');
}
On instances that use UI16 instead of Next Experience, use /nav_to.do?uri=UI_PAGE_NAME.do as the redirect target.
Using dashboards
This method uses Core UI dashboards. You cannot create Core UI dashboards on ServiceNow instances that were new on Xanadu or later, and widgets are not available on Platform Analytics experience dashboards. See ServiceNow’s dashboards and widgets documentation. If you cannot create a Core UI dashboard, use the UI page method.
Create a dashboard
- Log in to your ServiceNow instance as an administrator.
- In the left navigation menu, select Dashboards.
- Select New.
- Enter a Name (required) and any other details.
- Select Submit.
Add a widget to the dashboard
When you create a dashboard, the Add Widgets menu appears on the right side of the frame.
- Under Widget Category, select Content Blocks.
- Select New IFrame.
- Select Add.
- Select Click here to configure the iframe block.
- Enter a Name (required).
- Paste the URL you copied in Choose the CMP URL to embed.
- Set Sizing to Expand to fit.
- Select Submit.
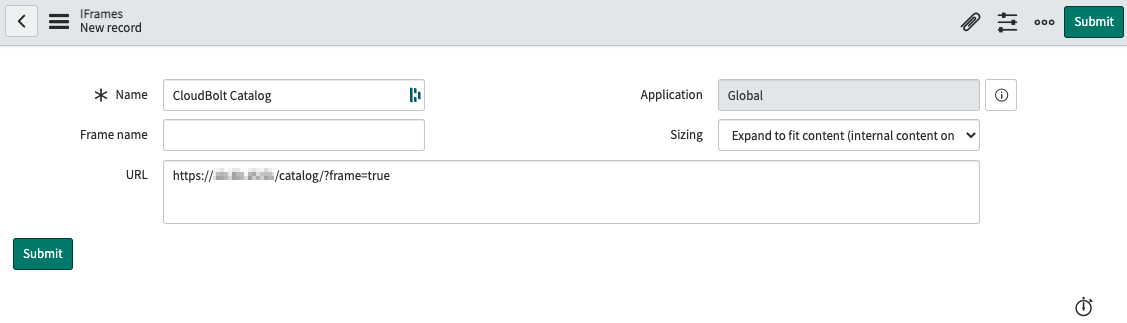 (opens full-size image in a new tab)
The CMP page now appears embedded in your ServiceNow instance.
Using a homepage (legacy)
Homepages are available only on ServiceNow instances that use the UI16 interface. With Next Experience, you can view existing homepages by direct URL, but you cannot create or edit them. See ServiceNow’s Next Experience documentation. On current releases, use the UI page method.
Create a homepage
- Log in to your ServiceNow instance as an administrator.
- From the Home page, select + to add a new page.
- Remove the automatically added widget, then select Add content.
- In the first list, select Content Blocks. In the second list, select New IFrame.
- Select the dark gray Add here button.
- Select the X to close the window.
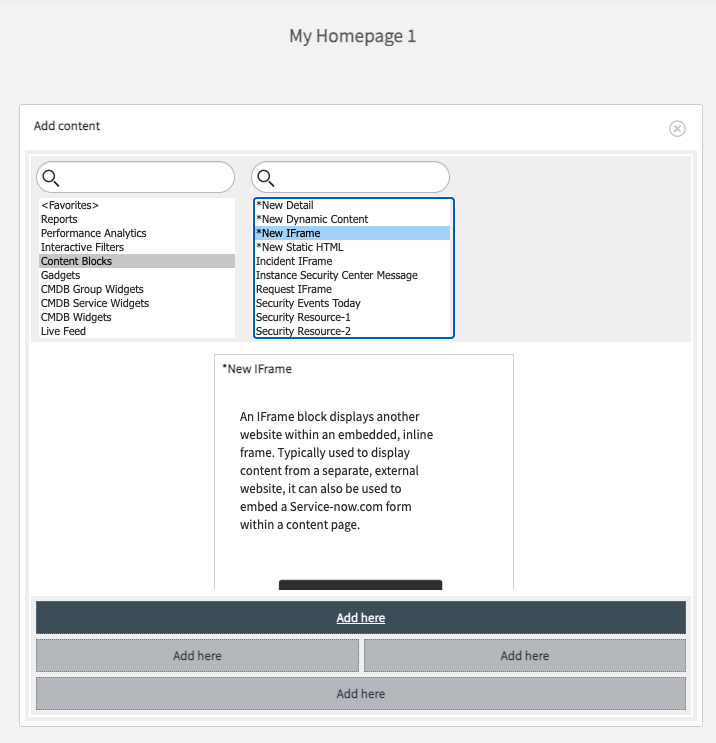 (opens full-size image in a new tab)
Configure the iframe
- In the new iframe widget, select Click here to configure the iframe block.
- Enter a Name (required).
- Paste the URL you copied in Choose the CMP URL to embed.
- Set Sizing to Expand to fit.
- Select Submit.
The CMP page now appears embedded in your ServiceNow instance.
Troubleshooting
The frame is blank
Open your browser’s developer tools, select the Console tab, and reload the page. Look for any of the following errors:
- A certificate error, such as
net::ERR_CERT_AUTHORITY_INVALID: The browser does not trust the CMP certificate. Install a certificate on CMP from a public certificate authority, or from an internal certificate authority whose root certificate is deployed to users’ devices. - A
frame-ancestorsorX-Frame-Optionserror that names the CMP URL: The ServiceNow instance URL is missing from Embed URLs / Frame Ancestors, or its hostname does not match. Check the field in Set up embed URLs in CMP. If you run multiple CMP appliances, run/opt/cloudbolt/manage.py generate_webserver_confon each web server after saving. - A
frame-ancestorsorX-Frame-Optionserror that names your identity provider: Automatically Login to SSO sent the frame to your identity provider, and the provider does not allow its login page in a frame. In Okta, add your ServiceNow instance URL as a trusted origin for iframe embedding. Microsoft Entra ID does not allow it. Users can instead log in to CMP in a separate tab and reload ServiceNow, if their browser allows third-party cookies.
Users are asked to log in again
CMP keeps users logged in with a session cookie, which the browser treats as a third-party cookie inside a ServiceNow frame. If the browser blocks third-party cookies, users see the CMP login page each time or cannot log in. Safari and Chrome Incognito windows block them by default. Firefox allows them in the frame but keeps them separate from CMP in other tabs, so users log in once inside the frame.
In Chrome and Edge, allow third-party cookies for the CMP hostname in the browser’s site settings or through your device management policy. Safari has no per-site setting. It allows third-party cookies only when Prevent cross-site tracking is disabled.
CMP opens without the ServiceNow header
The UI page was opened directly by its URL rather than from the module. Open CMP from the module in the All menu, or add the redirect in Redirect direct links to the UI page.
The application menu or module does not appear
Reload the browser. If it still does not appear, check that both the application menu and the module are active, and that your user has a role listed on both records.
The module opens CMP in a new browser tab
Clear the Window name field on the module.
Related
- Miscellaneous Settings: Embed URLs, Embedded Mode, and Automatically Login to SSO.
- ServiceNow: The built-in ServiceNow integration.